Prompt No. 20: Drawing and Painting Rocks
Inspired by a paid subscriber's request, your next subject is right at your feet.
Hi everyone! To celebrate the milestone of my twentieth prompt since I began my Substack, I am lowering the paywall just before sharing the link to the next paid subscriber meetup. In case you are unfamiliar with my prompts, they share a variety of creative and inspirational ideas to get you to doodle on the side of your notebook, open your sketchbook, or even create a series of paintings. They vary in focus from composition to abstract play to writing and drawing for your future self as a kind of time capsule. Now that I have reached the twentieth prompt, I will be creating a paid subscriber chat for members to share their work. We would love for you to join us!
You can find all previous prompt posts here. The prompts I provide to paid subscribers are meant to be referenced whenever a push or new inspiration is needed. There are no rules or guidelines for how to use these prompts.
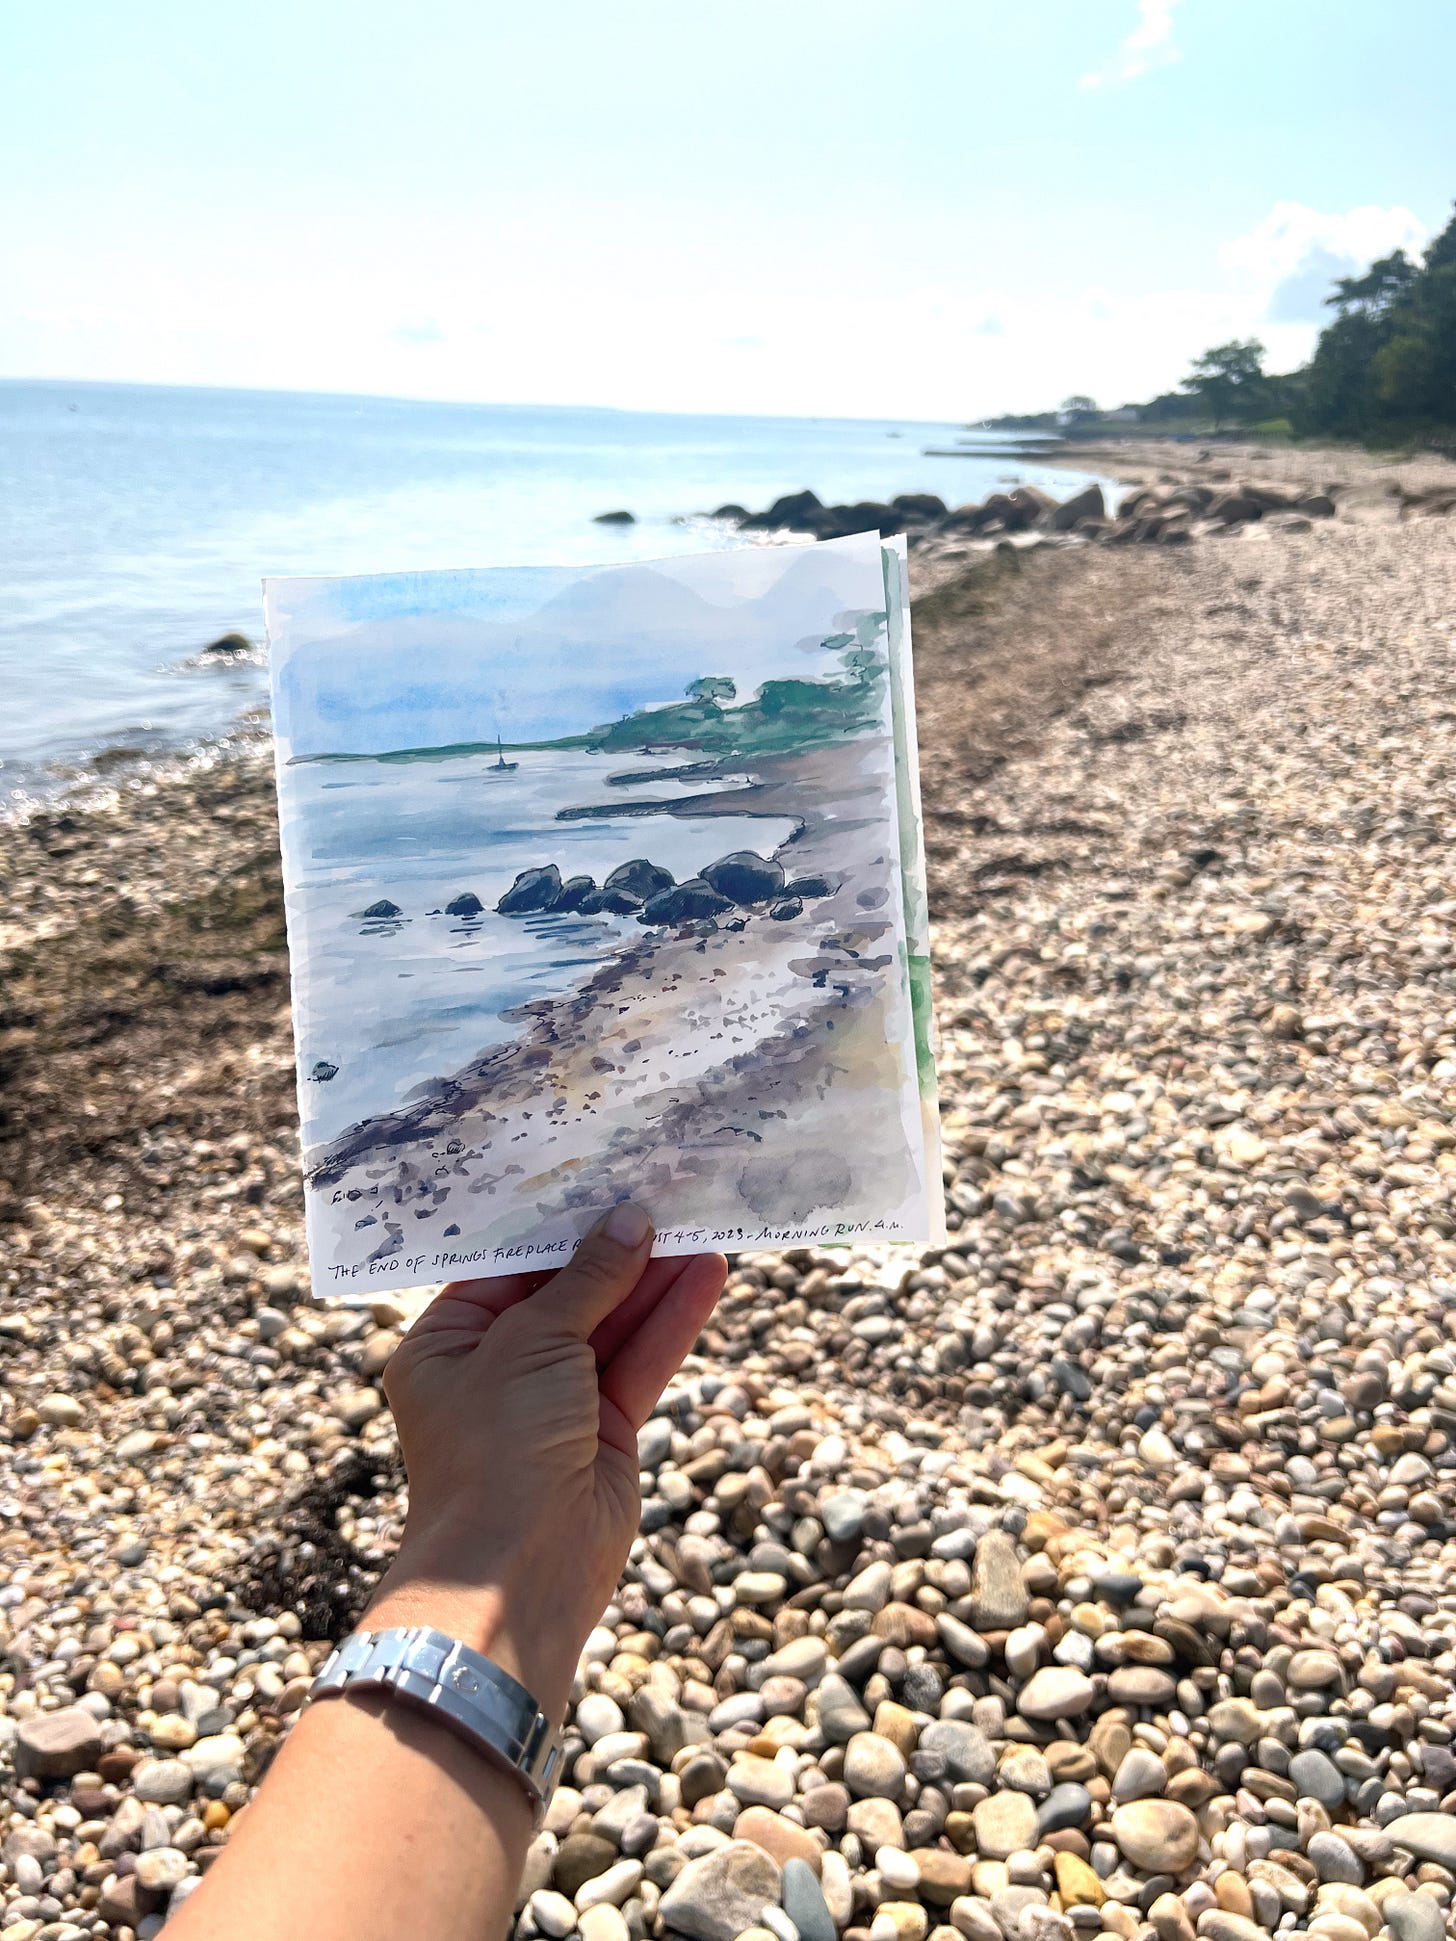
A little while back, one of my paid subscribers (hi Barbara!) asked me to talk about and do a demo on drawing and painting rocks. At first I doubted many people would find this interesting, but the more I thought about it, the more I realized that painting rocks really is a great way to freely play with light, shadow, color, and texture and hence would be a good exercise for us to explore together. Rocks are also great because you can always go outside and collect some pebbles or stones to use as your reference, no matter the time of year or whether you are in the city or the country. And then once you get the hang of it, you can make up rocks and draw them from memory over and over again. (Which is what I did for this prompt; more on this below.)
Recalling Barbara’s request, I looked through my files and found a handful of examples, but I was also excited to create some new artwork for you—a brief detour from my big book deadline that is coming up in just over a week. I know I shouldn’t be painting rocks right now, but sometimes we need a zen-like distraction!
Before you get started painting earthy things like rocks, it is always a good idea to make a quick tone chart with whatever material/tool you are using. Make a series of boxes and work from lightest touch or least opaque tone as possible (if you do this study with paint, then the lightest would be the most diluted wash), and slowly add more and more pigment until you are at the darkest tone you can make. If you are using a pencil, then go from lightest pressure to heaviest. This way you have a good idea of the variations of tone you are able to make. For any given subject, you want to have a good range if your end goal is to have full dimension in your work.
The next time you go outside, look down and around, depending on your environment, and and collect some rocks, stones, or pebbles. Bring a handful inside and just gaze at them for a while. What you may notice about stones and rocks is that while they come in all shapes and sizes, and in all colors and variations of textures, you’ll also find that some are shiny and smooth, others are filled with crevices and cracks. Some have metallic speckles, or stripes, or patterns on their surfaces. You can really have fun drawing them, and after a while, you can make up your own imaginary rocks pretty easily.
One thing that is consistent, whether a boulder or a pebble, is the darks and lights. In the example above I have shown how I first drew the outlines of the rocks, and then added some different planes or angled surfaces to show the random, almost gem-like shapes. The stone on the far right is more smooth and round, so it does not have as many angles and planes. Within these planes I have shaded using two tones. The second image shows just one light tone added to the planes that are in shadow and are closer to the ground/surface. In the third I have added another layer of dark. If you keep building, you can cover the rocks with tone.
Above is the same sketch after I added paint and some ink. You can see that these made-up rocks came to life with the addition of layers of color.
Above is an example of a similar drawing that did not start in pencil but in ink only. I added random planes and cracks to the rocks using my modification of crosshatching. It is a more playful drawing. But you still see the planes and the darks and lights.

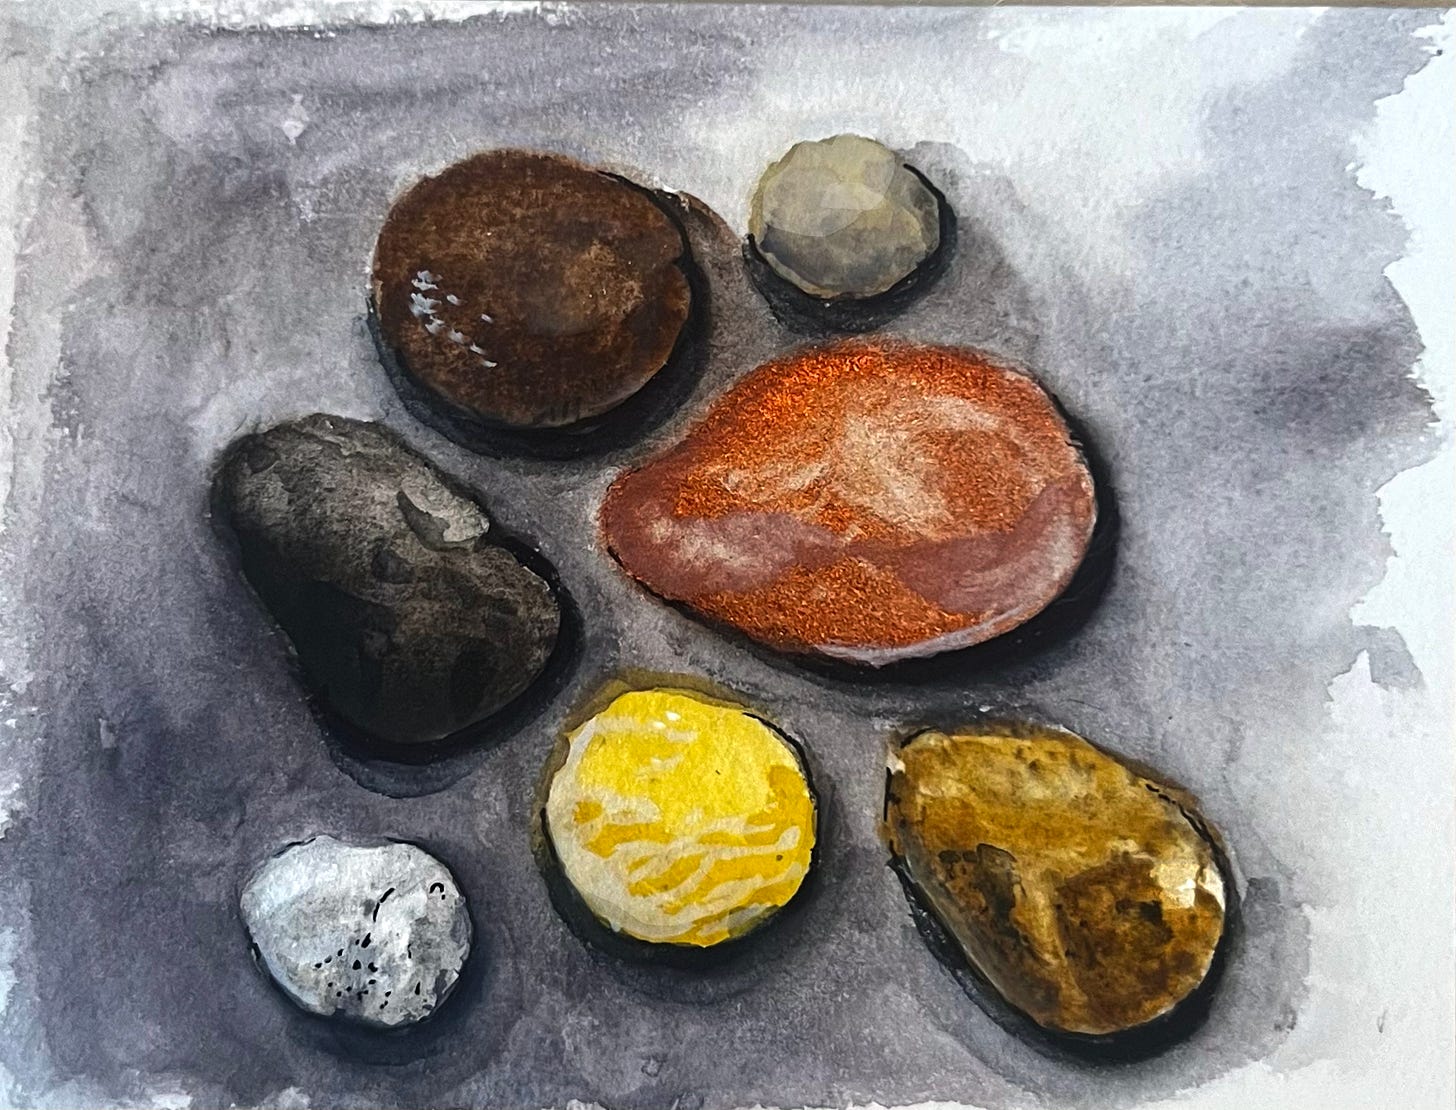
Above is a quick study of a handful of small beach rocks, loosely taken from the reference photo. Starting from basic shapes in various colors, I then added details to the surfaces and a light wash of background color. Below is the final result.
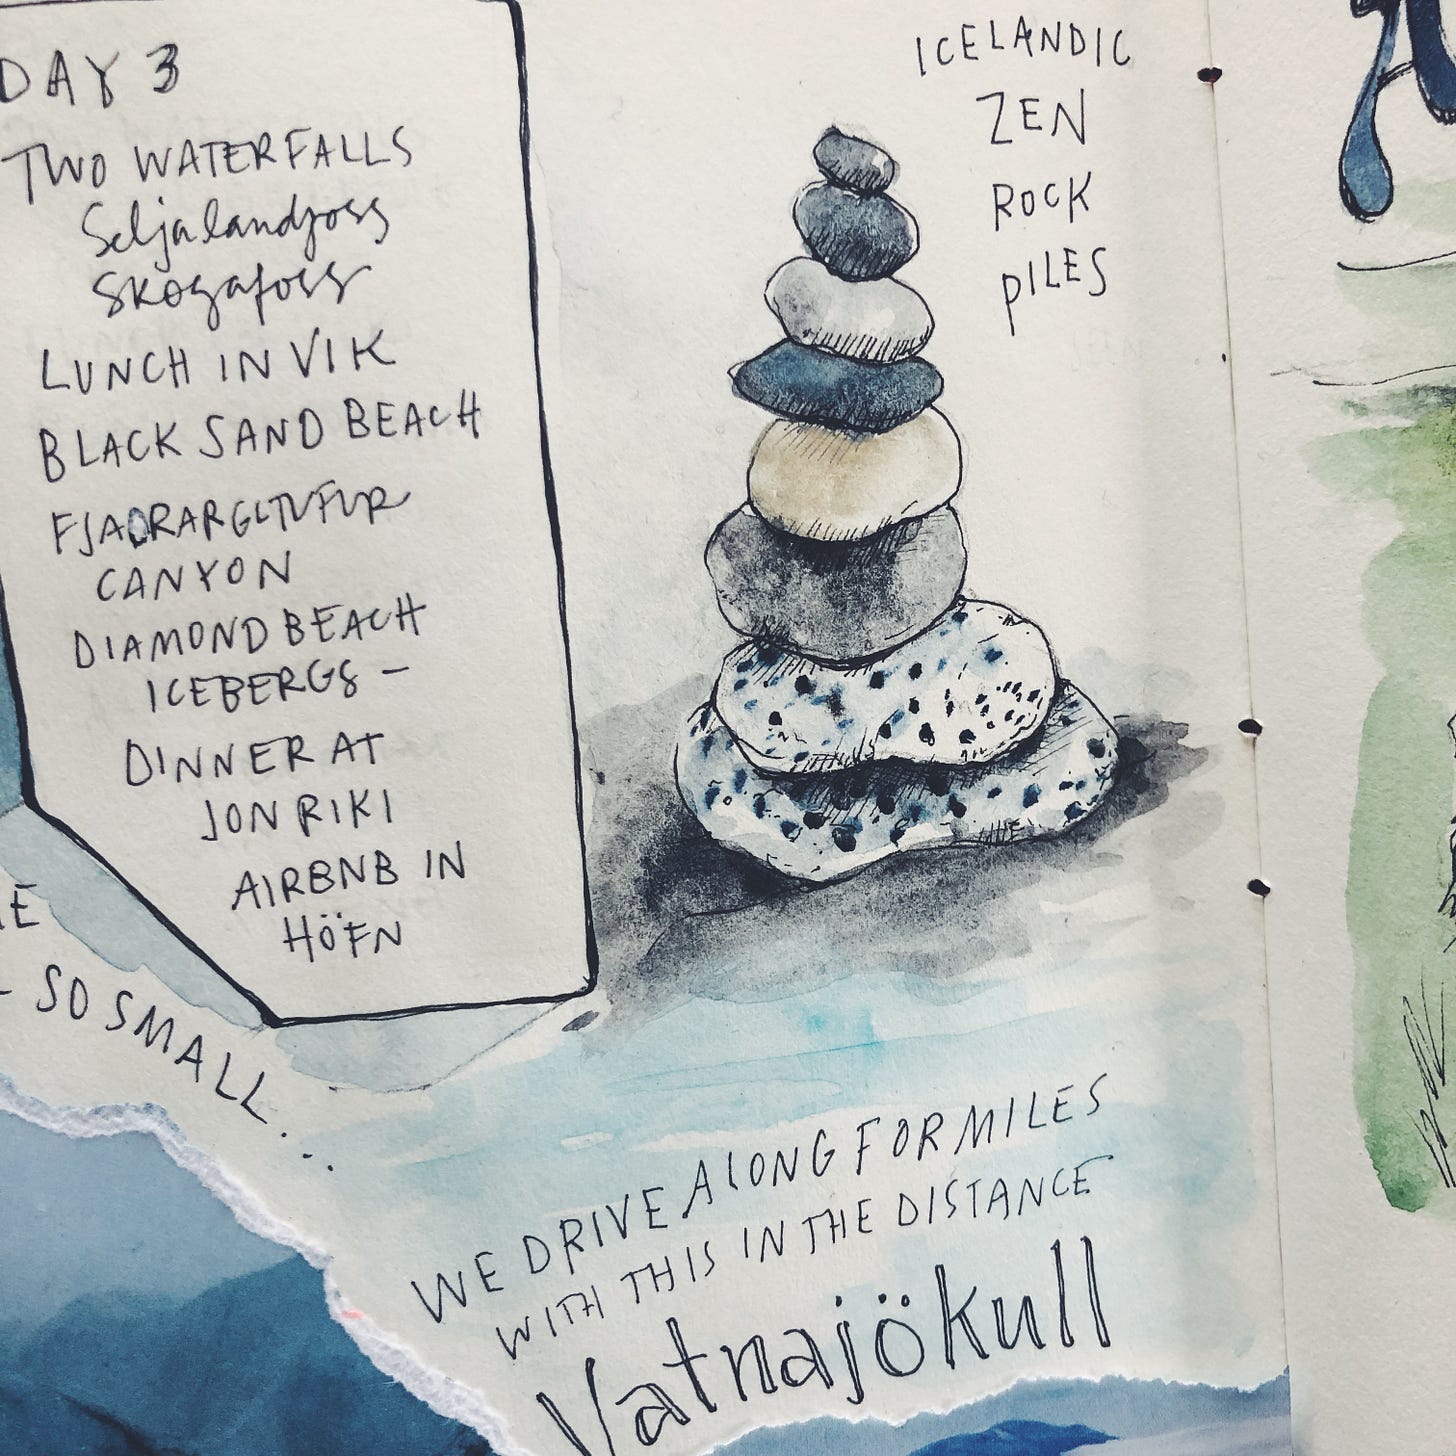
Have fun and play around with some of the rules of light and shading as you practice drawing rocks, pebbles, stones, and even boulders. Create an imaginary zen rock pile, as I have in the example below.
The great John Muir Laws has a tutorial on his website that I found useful when I was working on the examples in this post. You might see some similarities in the pencil study I began with. I read through his tutorial and then closed the window and created mine from memory and imagination. While I prefer to keep things loose and free, and up for you to interpret as you choose, Laws’ site is a great resource for those of you interested in more of a scientific approach to nature drawing.


